Introduction
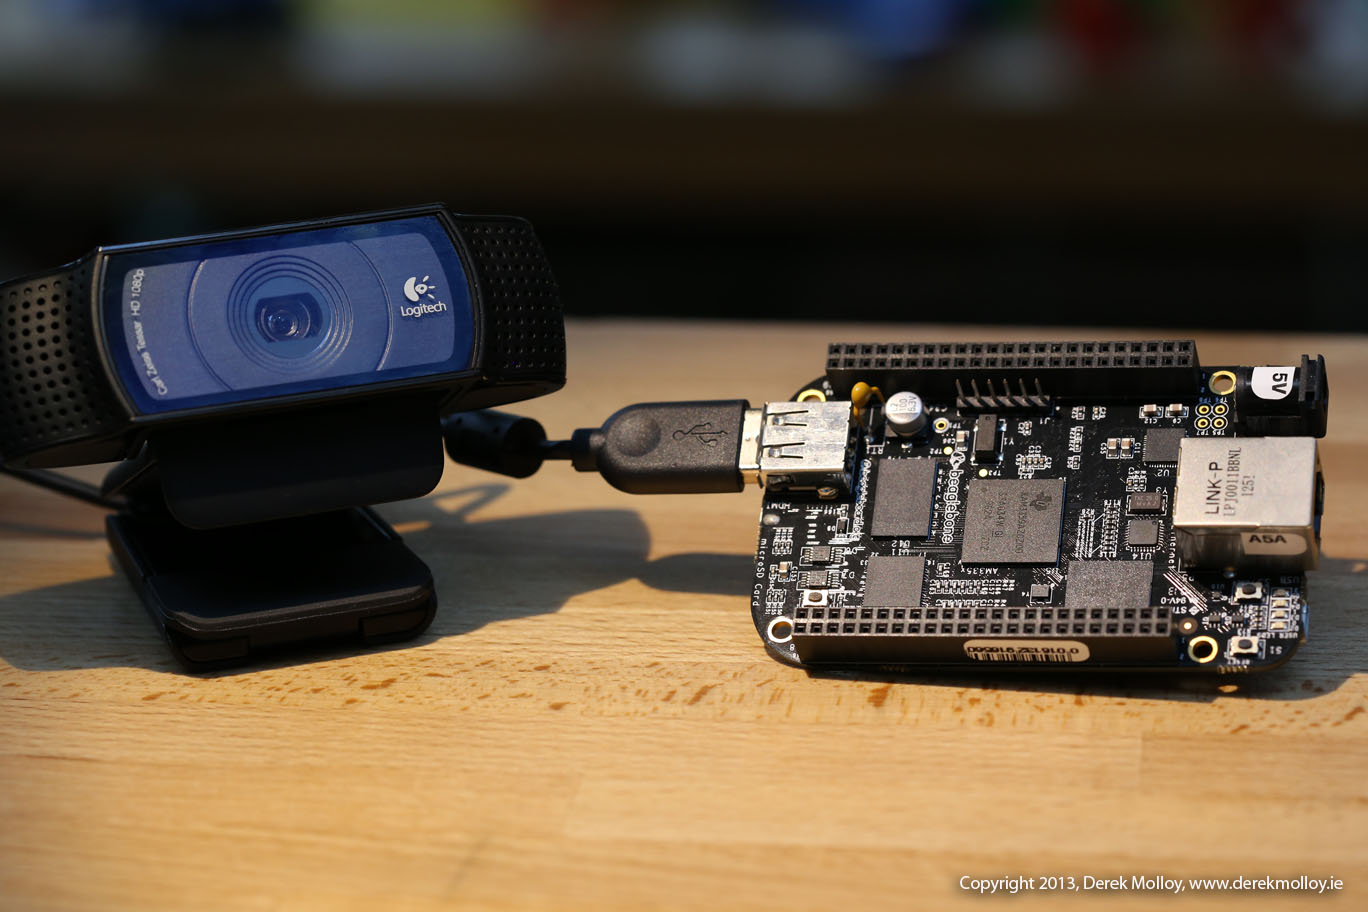
In this video I look at video streaming using the Beaglebone black using: RTP, UDP unicasting, and UDP multicasting, which allows one to many streaming. In all of these examples I used the VLC media player to display the video data. The final part of this video goes on to describe how you can build your own software implementation that can display the data using LibVLC and the Qt framework. The advantage of doing this is that you can add your own data processing and controlling functionality into the video display. You could even develop code for capturing multiple streams simultaneously and processing the data — for example, for stereo imaging.
The Video
[youtube id=”-6DBR8PSejw” width=”600″ height=”350″]
Please note that I use Camtasia to capture the video stream on the PC desktop for this video and it limits the framerate that I can capture. The actual framerate of the video being streamed appears to be around 30 frames per second, which is very fluid. The camera works best if it is stationary due to the compression algorithm used.
If you use this code or the content of the associated video in your research, please cite:
Molloy, D. [DerekMolloyDCU]. (2013, July, 19). Beaglebone: Streaming Video from Embedded Linux [Video file]. Retrieved from http://youtu.be/-6DBR8PSejw
The Important Blog Posts (in Order)
The first page that is important is the first post on this topic at: Beaglebone: Video Capture and Image Processing on Embedded Linux using OpenCV, which looks at how you can get started with video capture and image processing on the Beaglebone. It is an introductory video that should give people who are new to this topic a starting point to work from.
Once you have that working, the following posts are the important ones on the topic of streaming video:
- Streaming Video using RTP on the Beaglebone Black
- UDP Unicast and Multicast Streaming Video using the Beaglebone Black
- Custom Video Streaming Player using LibVLC and Qt
These are the core posts that are discussed in the video.
Source Code
The code for this video is available at: github.com/derekmolloy/boneCV/ but the important code is presented below:
The Execution Scripts are as follows:
streamVideoRTP
|
1 2 3 4 5 6 7 8 9 10 11 12 13 14 15 16 17 |
#!/bin/bash echo "Video Streaming for the Beaglebone - derekmolloy.ie" echo "Piping the output of capture to avconv" # Next line not necessary if you are using my -F option on capture v4l2-ctl --set-fmt-video=width=1920,height=1080,pixelformat=1 # Pipe the output of capture into avconv/ffmpeg # capture "-F" My H264 passthrough mode # "-o" Output the video (to be passed to avconv via pipe) # "-c0" Capture 0 frames, which means infinite frames in my program # avconv "-re" read input at the native frame rate # "-i -" Take the input from the pipe # "-vcodec copy" Do not transcode the video # "-f rtp rtp://192.168.1.2:1234/" Force rtp to output to address of my PC on port 1234 ./capture -F -o -c0|avconv -re -i - -vcodec copy -f rtp rtp://192.168.1.4:1234/ |
streamVideoUDP
|
1 2 3 4 5 6 7 8 9 10 11 12 13 14 15 16 17 |
#!/bin/bash echo "Video Streaming for the Beaglebone - derekmolloy.ie" echo "Piping the output of capture to avconv" # Next line not necessary if you are using my -F option on capture v4l2-ctl --set-fmt-video=width=1920,height=1080,pixelformat=1 # Pipe the output of capture into avconv/ffmpeg # capture "-F" My H264 passthrough mode # "-o" Output the video (to be passed to avconv via pipe) # "-c0" Capture 0 frames, which means infinite frames in my program # avconv "-re" read input at the native frame rate # "-i -" Take the input from the pipe # "-vcodec copy" Do not transcode the video # "-f rtp rtp://192.168.1.2:1234/" Force rtp to output to address of my PC on port 1234 ./capture -F -o -c0|avconv -re -i - -vcodec copy -f mpegts udp://192.168.1.4:1234 |
streamVideoMulti
|
1 2 3 4 5 6 7 8 9 10 11 12 13 14 15 16 |
#!/bin/bash echo "Video Streaming for the Beaglebone - derekmolloy.ie" echo "Piping the output of capture to avconv" # Next line not necessary if you are using my -F option on capture v4l2-ctl --set-fmt-video=width=1920,height=1080,pixelformat=1 # Pipe the output of capture into avconv/ffmpeg # capture "-F" My H264 passthrough mode # "-o" Output the video (to be passed to avconv via pipe) # "-c0" Capture 0 frames, which means infinite frames in my program # avconv "-i -" Take the input from the pipe # "-vcodec copy" Do not transcode the video # "-f rtp rtp://192.168.1.2:1234/" Force rtp to output to address of my PC on port 1234 ./capture -F -o -c0|avconv -re -i - -vcodec copy -f mpegts udp://226.0.0.1:1234 |
