Introduction
The Arduino is a great micro-controller for beginning in embedded systems education or for hobbyists, artists, hackers, engineers who need a one-off solution for a project that just works. It is powerful for the price and thanks to the great guys behind the Arduino project it is very accessible with fully integrated software development and debug tools. The Arduino can be quickly and easily connected to the Internet (using an Ethernet Shield) allowing us to control a device over the Internet, read sensor values over the Internet and to develop large scale sensor networks.
Here is my introductory video to using the Arduino:
[youtube id=”UrNMMBcGKVo” width=”600″ height=”350″]
Step-by-Step Laboratory
- To build a sensor circuit that senses ambient light level and uses its sensor reading to make a decision (Analogue to Digital Conversion ADC).
- To use Pulse-Width Modulation (PWM) to fade in and out an LED (Digital to Analogue Conversion DAC).
- To design a circuit that combines the ADC and DAC points above to create a new function.
- To give a numeric representation of the light level in the room using the 7-segment display.
Applications on the Arduino in Video
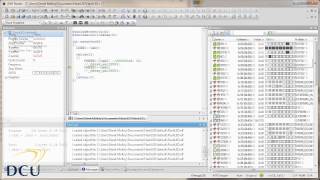
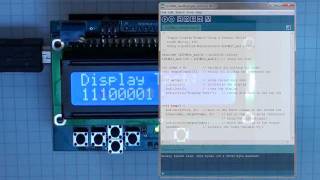
Driving LCD Displays using the Arduino – How do we drive LCD displays using the Arduino? Here is a video on the different types of character displays and how we can use them in our projects:
(click on the image to view the page and associated video)
Driving an RGB LED using the Arduino – How can we combine displays and PWM control of and RGB LED to create a useful application:

Serial to Parallel Conversion using the Arduino – How do we convert data from serial to parallel form ? – this video will demonstrate how we do this using the Arduino.
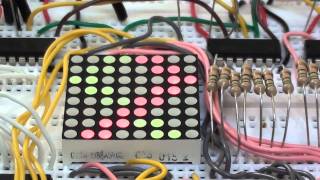
Driving Bi-colour 8×8 LED Dot Matrix Displays using the Arduino – For more complex LED examples, such as driving 8×8 LED displays we may need to use more complex circuits that are capable of sourcing and sinking current correctly so that our ICs are not destroyed. This video details how we can drive larger displays using the Arduino.
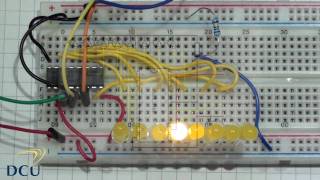
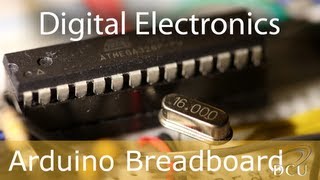
Arduino on a Breadboard – So, you have your program built and now you need to build it in a standalone model that does not need the USB interfaces etc. How do you do it? Well, this video looks at how you can take the ATMega chip that you have programmed on the Arduino and place it on a breadboard so that you could eventually place it in your own circuit that could be compact and fairly low cost.
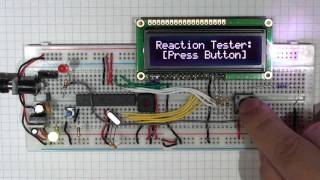
A Reaction Timer using the Arduino – An example application that combines several different circuits that I have built before to create a standalone reaction timer. The important point here is that we have a breadboard that when supplied by power has the capability to interface to digital displays, while allowing you any type of input/output.
AVR Programming – If you find that you are over constrained by the Arduino environment and you want to learn more about the great processor that is used, then it may be time to look at my page on AVR programming, which essentially goes one layer below what you have been using on the Arduino.